Do you have bare walls?
Are you at a point in your life where the posters and papers that you taped on your walls as a teen just aren’t cutting it anymore?
Are you too broke and/or cheap to get something professionally framed?
Here’s the answer, at a low low price.
STEP 1
Go to the thrift store, preferably one with a sizable home goods or furniture section, because that’s where you’ll find perfectly good, if a little worn or out of date frames for sale. Depending on their size, expect to pay about $3 a pop.
STEP 2
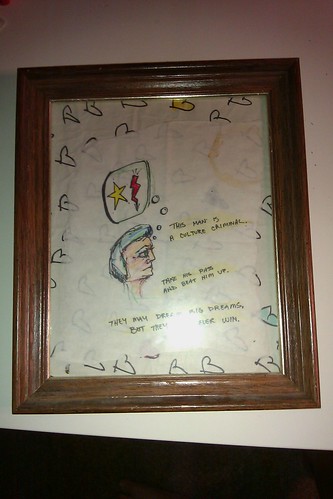
Find something to frame. I chose this drawing I made for Ben in college.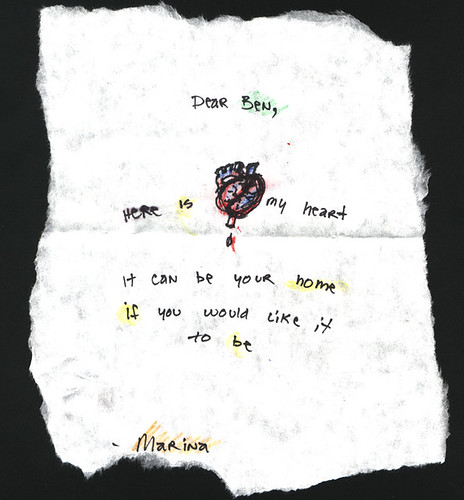
STEP 3
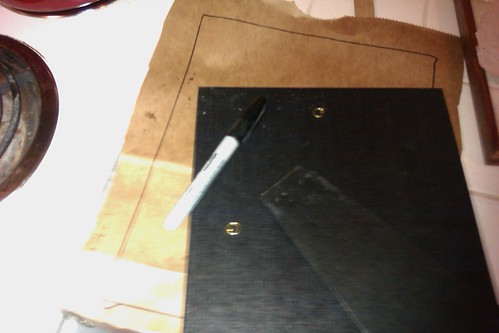
Cut the side out of a paper bag and trim it down to the size of the frame’s backing. I traced around the backing and then cut just inside the lines in order to assure a snug fit. 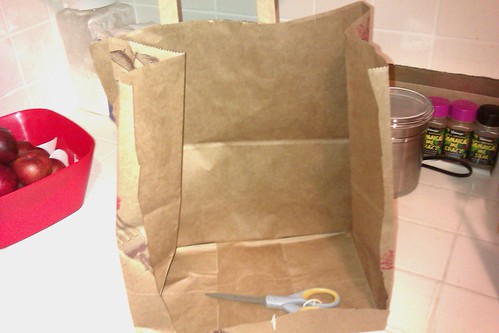
STEP 5
Put some glue on the blank side of the bag so your artwork will stick there. Don’t put too much unless you’re okay with the idea of it never coming off. 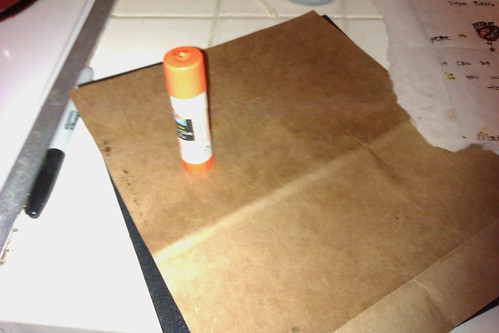
STEP 6
Place your newly matted art face down on the glass, and slide the back of the frame over it, careful not to jam or wrinkle your new decor. 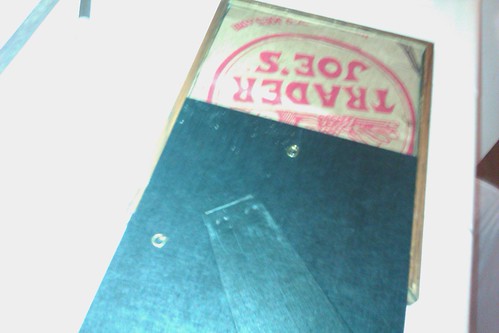
STEP 7
Hang and enjoy your new cheap-o masterpiece.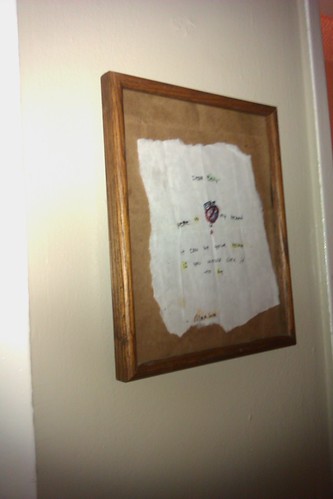
VARIATIONS:
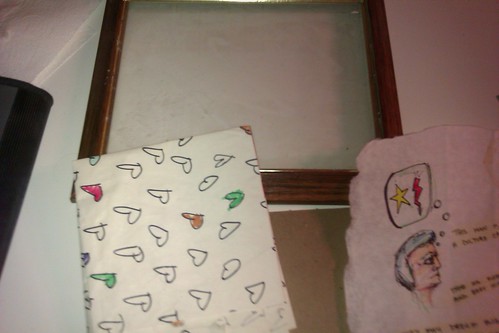
I tried another picture that I found in the same pile of forgotten sketches, but this time instead of a paper bag I used some leftover wrapping paper I made for a wedding gift we gave to some friends of ours. This one didn’t turn out so good because you can see the wrapping paper pattern show through the back of the picture. But here it is anyway, maybe it would be better if I had a less opaque sketch.