As you may or may not know, I am in Western Oregon for Christmas, where it is cold and windy in a way that I am completely unfamiliar with. I decided that this year, I would not be cold, which is a challenge because I hate clothes and the grabby nature of clothes. My friend suggested that I make a wrap, and this is what came out of that initial intention.
This awesome Christmas Cloak is made from fabric I bought at SAS Fabrics in Hawthorne. That store is amazing. They have shelves and shelves piled high with $2.00 a pound fabric, including the outside panels for this awesome cloak. The fur lining is the fake fur equivalent of rabbit (soooo soft), and it was only $8.00 a yard.
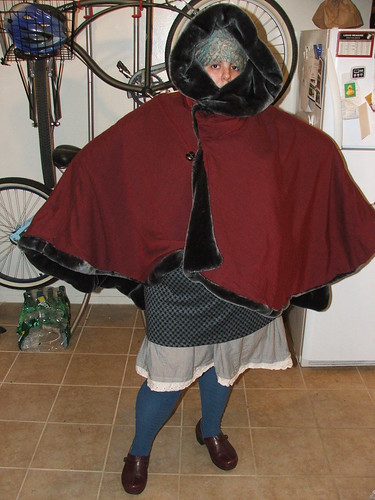

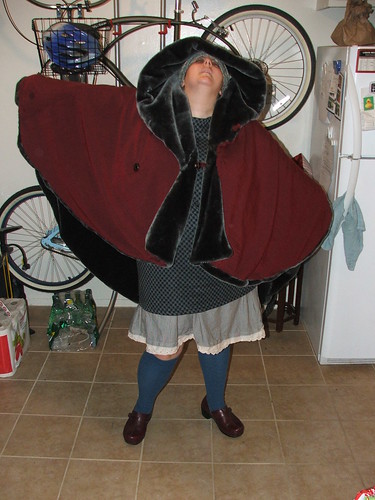
The cloak can be worn three basic styles. I call them warm, cold and freezing. Here you see me demonstrating the freezing option.
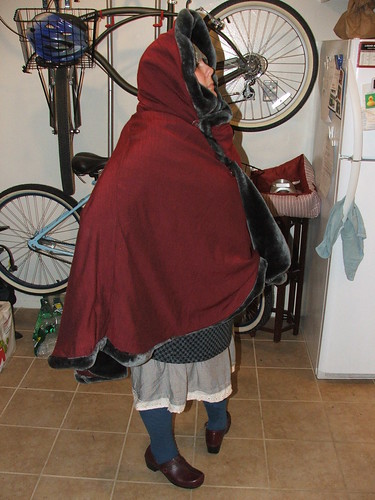
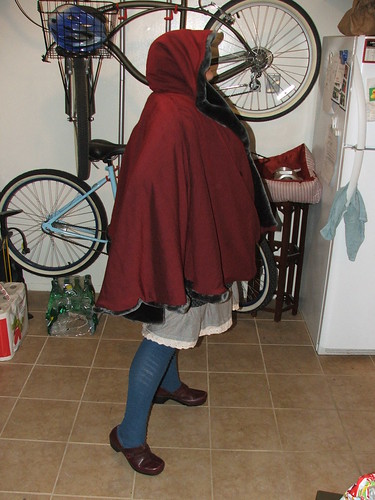
Cold
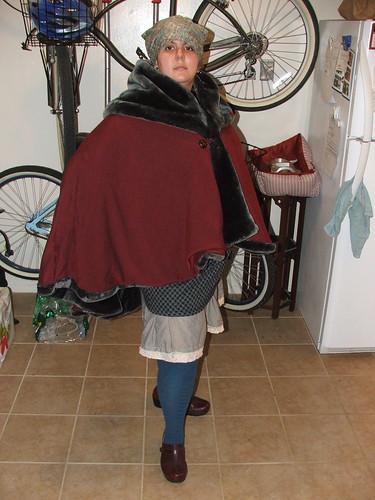
Warm
I’m an amateur seamstress at best, and my biggest problem with this project was just dealing with the massive amounts of fabric. The trickiest sewing situation was the hood, as it’s a multi-planar seam. I just sewed the flat parts first, leaving the curves for last, which really helped me construct them better.
Following no particular pattern (the process is recreated below to the best of my ability), I made one cloak out of fur and one out of red fabric, then sewed them both together. Because the fur was slippery, I basted, or sewed them together by hand very sloppily before machine sewing so that the pieces would stay together when I did bring out the machine. It’s good to keep the sloppy stitches as close to the edge of the fabric as possible so that you can easily go next to them with the machine and they won’t show when the coat is turned out.
After sewing the two pieces together most of the way, I made sure to leave a hole about 4 inches wide through which I pulled the cloak inside-out. That way the seam was nicely tucked inside the two panels and then I stitched up the hole by hand. Pulling an entire cloak through a 4 inch hole can be tiring and time consuming, especially since you have to go slow and pull gently so that nothing rips. Once it was right-side out, I placed the buttons by wrapping the cloak around me and using safety pins as markers.
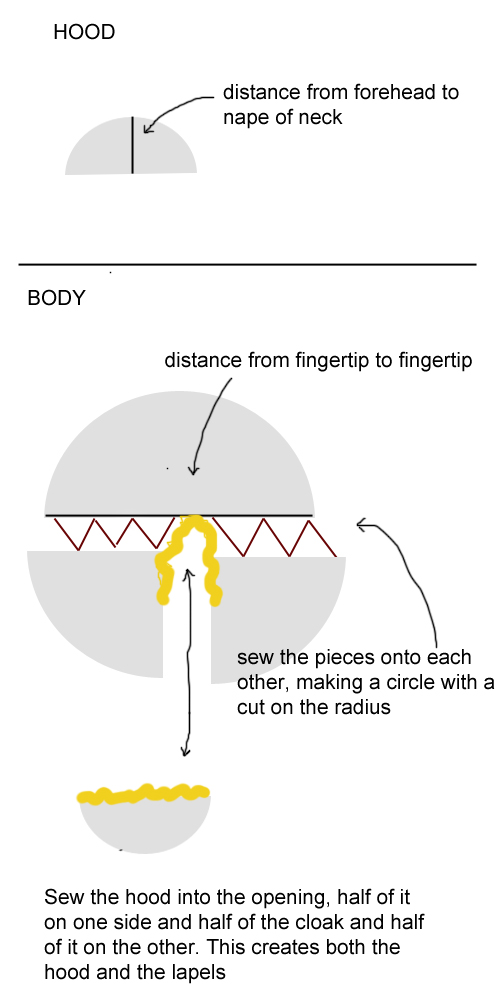
That last bit of text in the pattern was written in a rush and should actually say: “Sew the hood onto the opening, half of it on one side and half of it on the other. This creates the hood and the lapels.” The red zig zags are meant to indicate the sewing of those pieces onto the other piece. The quarter-circle panels started with the exact dimensions of the semi-circle, but I cut that semicircle in half in order for the cloak to open in the front.